|
<><><><><> Air Brush How To <><><><><>
A simple flame job................
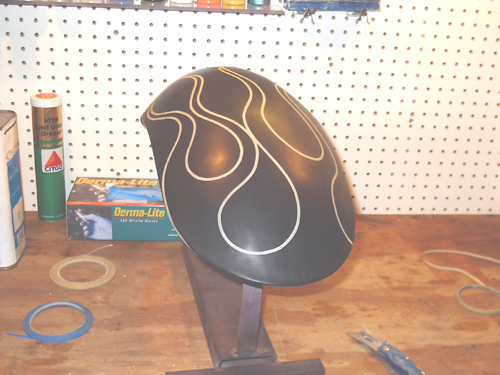
Nothing fancy, just a simple, practical flame job. The fender was made by Kris Pinkerton at the Metal Meet 2004 metal shaping event held in Robinson, Illinois. I was originally going to use the fender as part of an air brush seminar-demonstration but do to mother nature deciding to knock down the main tent, the demo came to an abrupt halt!
Since then I changed the layout of the flames and finished ther fender here at home, making a "How To" out of it.
Since Kris is going to use the fender as a display piece, it was primered and based with rattle can paint. The colors for the flames are all Auto Air water based paints. The clear is PPG auotmotive clear.
Enjoy!!
|
|
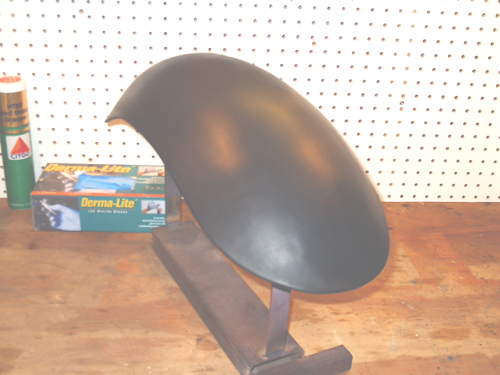
In the Beginning.......
Here the fender is ready to begin laying out the flames. Since I will be using a water based paint I sanded the base coat with 400 grit and then wiped down with PPG DX330 wax and grease remover. I also do a quick wipe down with a tac-rag to remove any unseen lint or other trash.
|
A little tape goes a long way....
Here I have laid out the flames with 3M Green Fineline 1/8" tape. I had no idea of what I wanted and just let the tape and fender dictate the design. After taping, I again wipe the fender down with the DX330 to remove any body oils I may have left. |
|
|
|
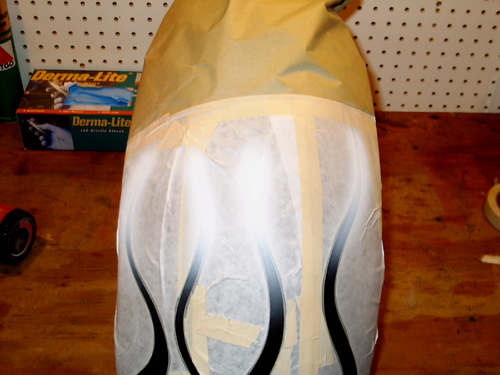
Let the masking begin!....
I covered the entire design with Lo-tac transfer tape and then proceded to cut out the flames with an X-acto knife with a new blade. I finished masking the rest of the fender with a bit of masking paper. With the transfer tape one can see the layout tape underneath thus making it easier to do the cutting. Be sure that you do not cut the layout tape! With practice it becomes quite easy to cut the transfer tape without cutting the tape underneath. 3M masking tape is used to cover the areas where mistakes are made. (mistake? did I do that?!!!)
After all of this I yet again wipe down the area to be painted with DX330. |
Now we're a paintin".....
After wiping the flames down with a tac-rag I begin by laying down a bit of Base Coat White Sealer in the tip areas. Light coats! Water based paint can give you all sorts of fits if applied to heavily. I use a heat gun in between coats to aid in the drying process. |
|
|
|
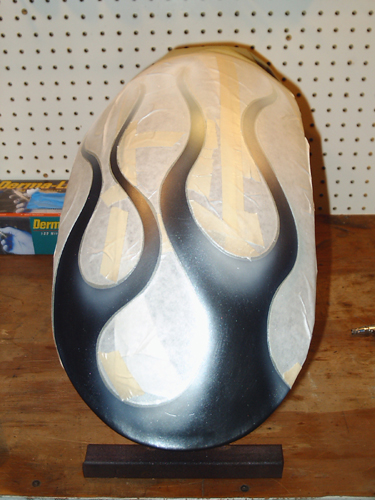
A flaming we will go.....
I now load my brush with Cosmic Silver and begin building up the areas I want to really shine. I then begin to blend these areas into the rest of the flames. Remember, light coats, drying each coat throughly with a heat gun (or blow dryer). |
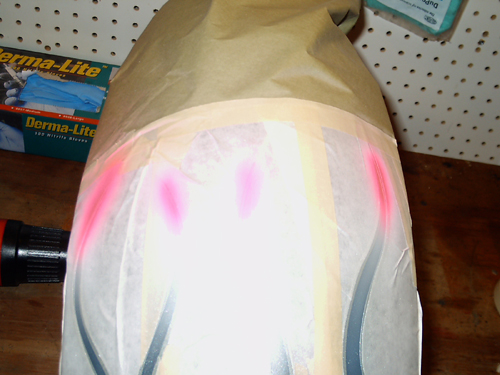
HOT PINK?!!????
Yep! You bet! Over the last 15 years, no matter what I've airbrushed, I have always try to find a way to use flouresencent Hot Pink. In this case I coat the tips of the flames so that when I add the final color, the combonation of the two will produce yet a third color! |
|
|
|
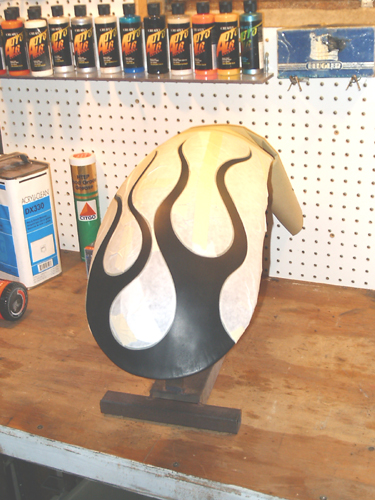
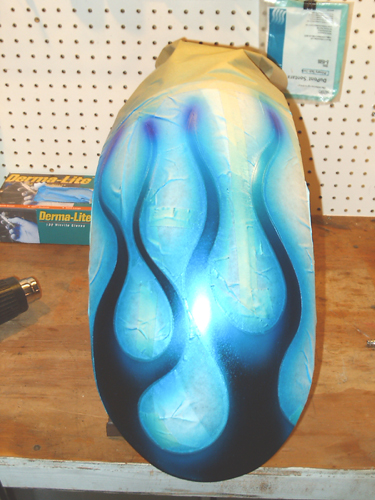
Gather 'round! Colorin' time is here!
I now load the brush up with Candy Teal Blue. After a couple of coats I then spray the entire flame with a few more coats. Notice the hot pink tips?? They have now turned a rich purple. |
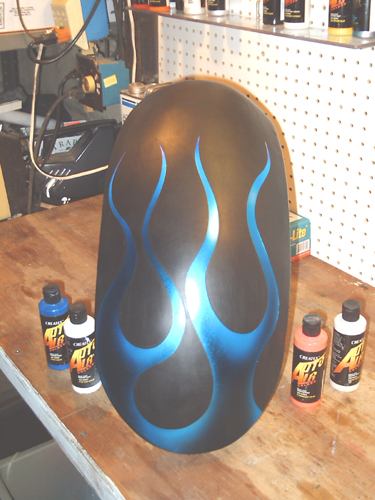
Hang in there. We're 'bout done now!!
After drying the flames with the heat gun, I removed the masking being sure to leave the fine line layout tape. I then carefully remove the layout tape. BE SURE the paint is completely dry or else you run the risk of lifting or tearing the paint with the tape. And we don't want that. At least I don't. I have seen things fly that were far from being designed to gain altitude!!! Next up, "The Clearing." |
|
|
|
Wait for it! Wait for it!.................
No! Really, I mean ya gotta wait for it! Besides drying with the heat gun, I like to let waterbased paints sit 12-24 hours before clear coating, just in case! So, right after I finished what you have seen here, I turned out the lights in my work area and put the newly painted fender to bed. I then began working on this page. I will clear coat the fender tomorrow and post the final pic, wet clear and all, shortly afterwards. Until then, enjoy!!
Oh yeah, before I forget, sometime in the next week or so I will be painting the fender I made at MM04. This one may get video taped and burned to a CD so copies may be made available to those who for some questionable reason might want one!! |
|
|
|
|
|
|
|
|
|
|
|
|